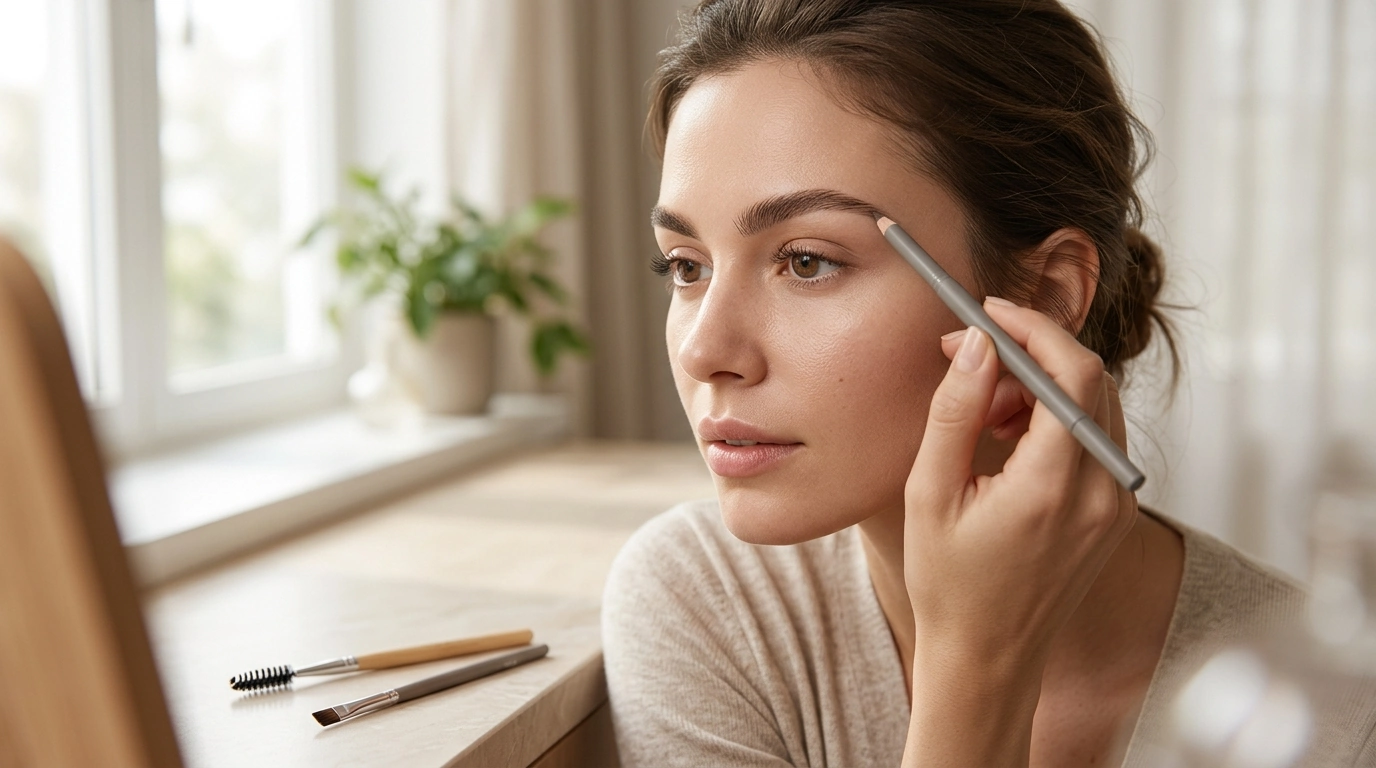
Natural-looking brows come down to three things: mapping a soft shape, choosing the right product texture for your hair type, and building pigment in thin, hair-like strokes. Once those basics click, filling your brows becomes quick, repeatable, and much harder to overdo. Below is a beginner-friendly routine with fast fixes for the most common mistakes, plus a checklist you can follow when you want consistent results. For more guidance, see How to Shape Your Eyebrows in 1 Easy Guide – Sublime Beauty.
Small prep steps make a bigger difference than most people expect—especially if brow products tend to look patchy or fade midday. For further reading, see Try This Eyebrow Tutorial for Your Best Arches Yet | L’Oréal Paris.
| If your brows are… | Best pick | Why it looks natural | Beginner tip |
|---|---|---|---|
| Sparse with visible gaps | Fine-tip pencil or micro pencil | Mimics individual hairs with light pressure | Work in short strokes, then blur with spoolie |
| Full but uneven | Brow powder | Adds soft shadow without harsh lines | Tap off excess and build slowly |
| Very light/blonde or gray | Tinted brow gel + pencil only where needed | Tints existing hairs for a diffused effect | Pick a shade slightly lighter than expected |
| Oily skin or brows that fade fast | Pomade (used sparingly) or long-wear pencil | Stays put when set and blended | Use a tiny amount and soften edges immediately |
If you want a guided routine you can repeat without second-guessing, the digital guide How to Fill Your Eyebrows for a Natural, Flawless Look – Beginner-Friendly Brow Guide, Step-by-Step Eyebrow Filling Tutorial, Natural Brows eBook, Printable Beauty Checklist is designed to be followed like a daily checklist.
Mapping sounds technical, but it’s simply a way to keep both brows balanced. You’re creating gentle landmarks—not drawing a brand-new brow.
This routine keeps the “makeup” part concentrated where brows naturally look deeper (the mid-brow through tail). That’s the easiest way to avoid a harsh front.
| Step | Daily (2–3 min) | Special Occasion (5–8 min) |
|---|---|---|
| Brush and assess gaps | Yes | Yes |
| Map start/arch/tail | Optional | Yes |
| Lower edge guide (mid-to-tail) | Yes | Yes |
| Hair-like strokes in gaps | Yes (targeted) | Yes (more detailed) |
| Soften front third | Yes | Yes |
| Blend with spoolie | Yes | Yes (extra) |
| Set with brow gel | Optional | Yes |
If you’re trying new cosmetics or have sensitive skin, review general product guidance from the U.S. Food & Drug Administration (FDA) — Cosmetics and everyday skin-care basics from the American Academy of Dermatology Association.
Use minimal product at the front, start filling from the middle to the tail, draw short hair-like strokes instead of solid lines, and blend thoroughly with a spoolie to blur edges.
A fine-tip pencil is usually the easiest for natural results because it can imitate individual hairs; add tinted gel to tint existing hairs so you don’t have to overfill.
Remove skincare residue from the brow area, lightly set with powder if needed, choose a long-wear formula, and finish with brow gel to lock hairs and pigment in place.











Leave a comment